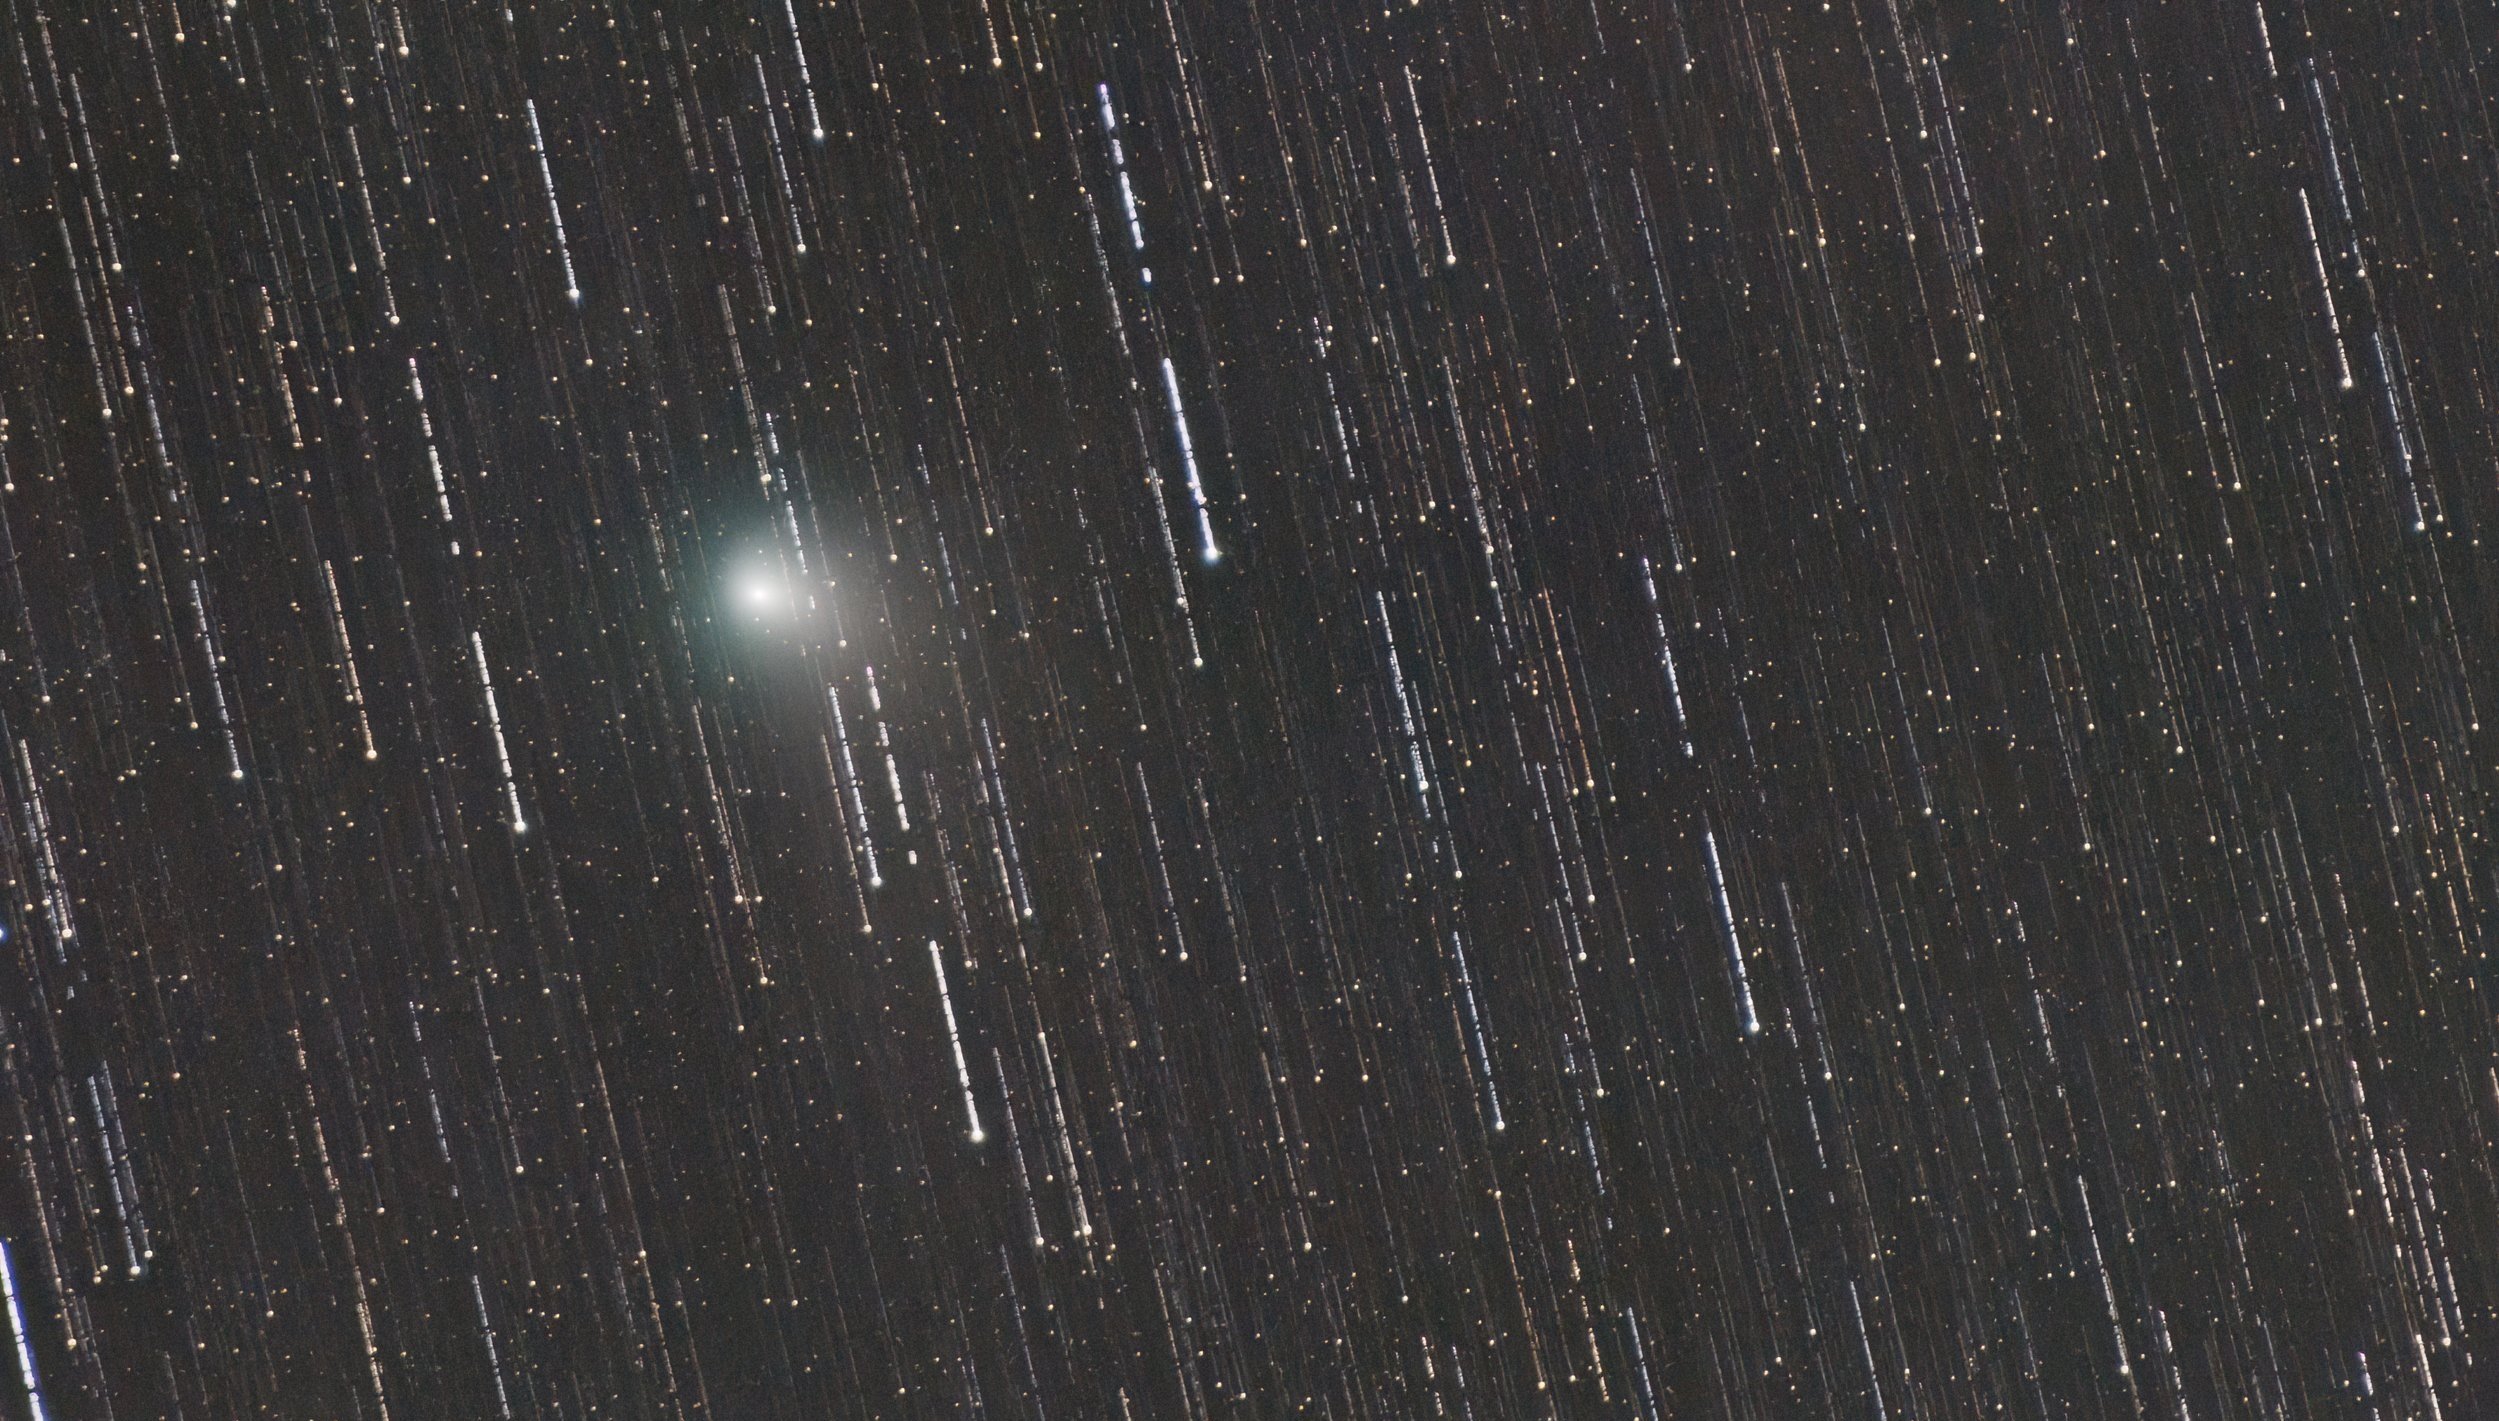
C/2022 E3 (ZTF) “Green Comet”

Most of you have likely seen an article pop up by now about the Green Comet of 2023. On this page I will be showing you how I captured and processed my image of the comet. As the Earth was nearing our closest approach to the comet I was keeping an eye out for the clearest night by checking cleardarksky.com. Luckily the one clear night that was upcoming was Thursday February 2nd, the day after our closest pass. The only bad thing about this timing is that the moon was 91% full which can wash out faint details when imaging.
This was my best, and possibly only shot, so I knew I had to take it. I set up my camera on my star tracker with a lens heater and intervalometer. I focused on a bright star and used the stellarium app to find the location of the comet at that time. I located the general area of where I believed the comet to be and took a sample image to upload into https://nova.astrometry.net/upload. This helps me find exactly where I had taken the picture to compare to stellarium, find how close I was and where I needed to move to center the comet. After testing multiple shots I found the best settings for me, under the conditions I was in, was to shoot at full 300mm, 25 second exposure, ISO 1600 and f/8. With the moon at 91% and living in a bortle class 6 sky these settings got me around a 1/3 histogram peak which turned out to be a good amount of data per image. I set my intervalometer to take an image every 27 seconds and let it image for a few hours. I was able to get 361 images before I called it a night. When I decided to stop imaging for the night I took my calibration frames directly after. Doing so will ensure the best calibration under the same ambient conditions the camera was in while taking the light frames. I will be adding in a page under info to explain the calibration frames. I took 73 dark flat frames, 50 darks, 54 flats and 76 biases and was only able to use about half of the light frames.
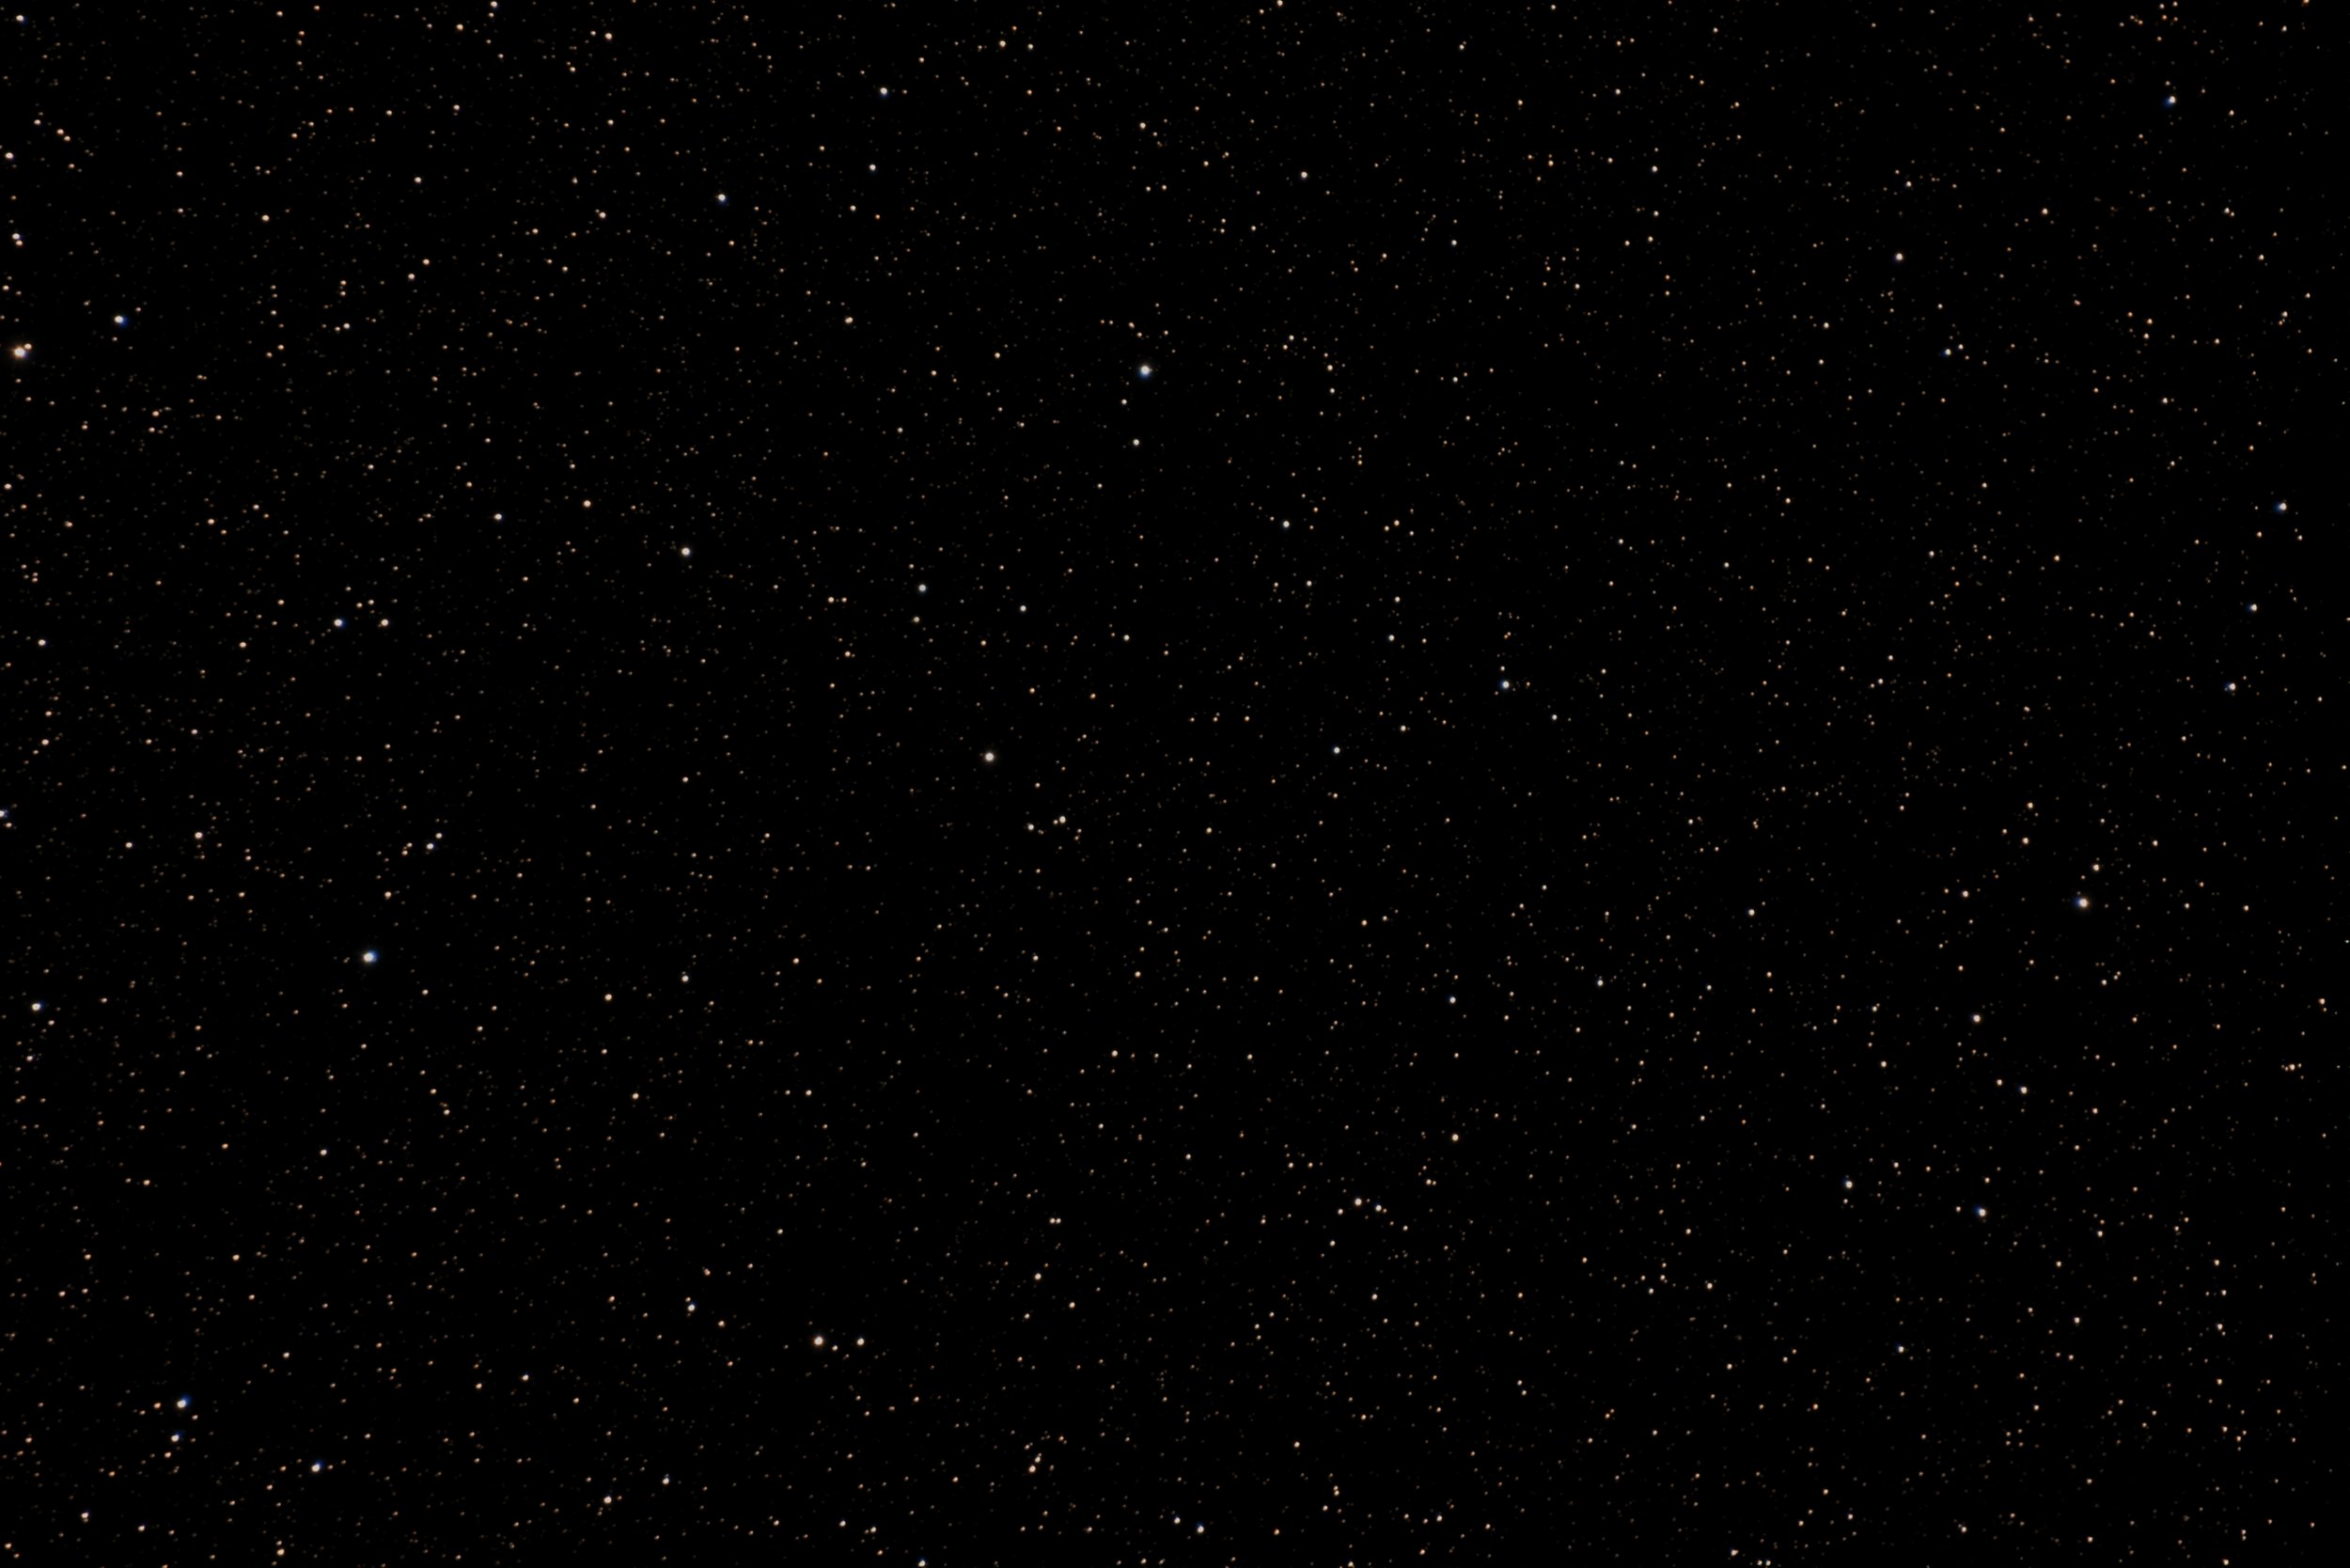
Everyone I’ve shown my final image to has asked why there are streaks or what the streaks are so I wanted to take a second to explain. Play the video here. As it loops you will see the comet moving through the star field. The 3 images I have looped were taken at 7:20, 7:38 and 7:51. If you take these images and stack them together while aligning the stars you will get a blurry comet streaking across the frame. Now if you imagine taking each of these images and aligning the comet you will see the stars trail as pictured below. Stacking all of the frames of the comet together add in more data and details of the comet and lose quality in the stars.
The video here shows my final stacked image of the stars with a blur of the comet. To separate the stars from the comet and background I used starnet++. Removing the stars allowed me to clean up the background and blur. Once I got the stars how I liked I was able to paste them back into the image and align them with the end of their streaks to give a nice representation of the motion of the comet.