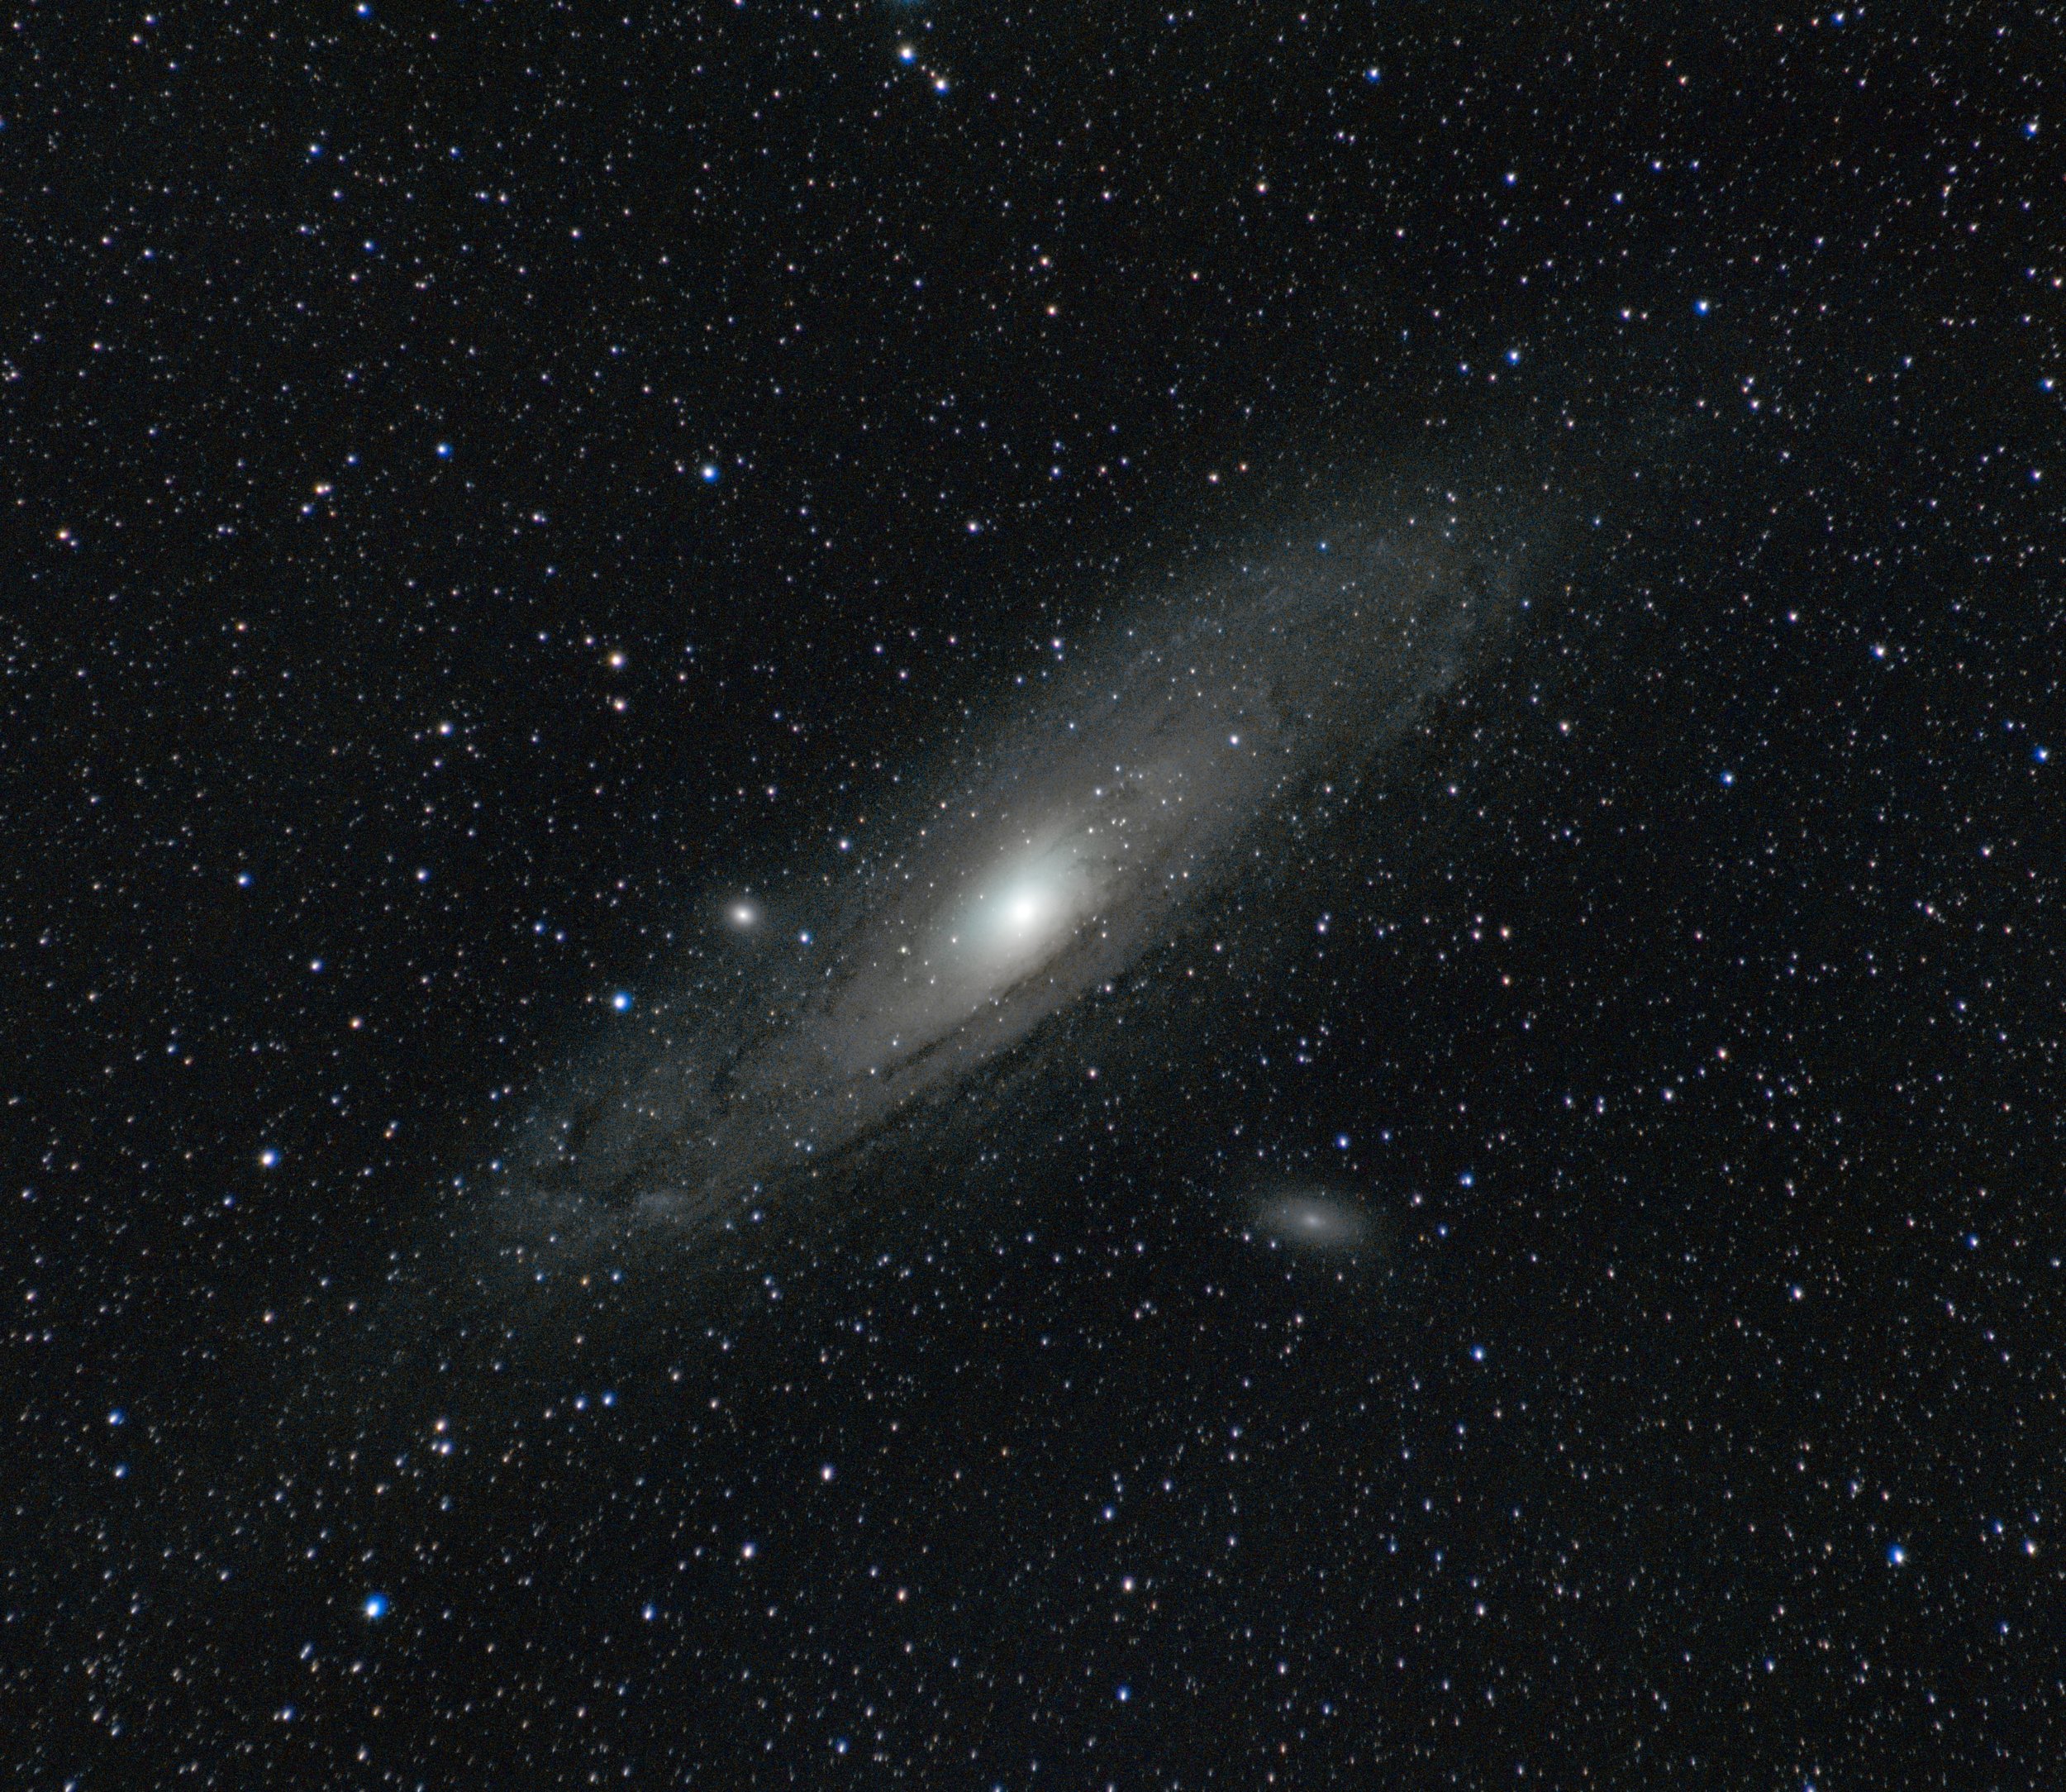
M31 Andromeda Galaxy
Andromeda
This isn’t a description of the galaxy or constellation. Here I will be describing how I got to the final image from start to finish. If you haven’t already, check out the equipment page here.
On a clear night I try to find the most stable, level spot for my tripod. Mounted to my tripod is the star adventurer 2i pro pack star tracker. Having a star tracker is not absolutely necessary but will help get longer exposure times reducing the total amount of images being captured. The first thing I focus on when setting up is getting the best polar alignment with the star tracker. I find Polaris and use the Polar Scope Align Pro app to calculate where I need to place Polaris on the polar clock based on my latitude and the time and date I am shooting. Once aligned I mount my Canon T8i with the 75-300mm lens and possibly lens warmer to the tracker. You want all of the gear mounted and secured for proper balancing with the counter weight. After balancing I mount the bahtinov mask to the lens and find a bright star to get proper focus. Secure the lens with tape (or lens warmer works!) so that the focus is not lost. With our focus on the stars we are now ready to find the Andromeda galaxy. The easiest way I’ve found is to locate Cassiopeia which looks like a big W in the sky. Use the first two points of the W to point toward Andromeda. You will see a very bright star called Mirach under where the W is pointing and two stars above Mirach. The Andromeda Galaxy is just above the third star.
Now that we’ve located the galaxy it’s time to take some test shots. I have found that my sweet spot for my location and equipment is a 30 second exposure at 3,200 ISO and f/8. I have done many tests and found these were the best settings for me at the time. I live in a bortle 6 area and the moon was at 96% but luckily to my back. Once I have everything dialed in it’s time to set the intervalometer up and take a break. For this session I had it set to take 150 30 second exposures. I will show what a single exposure looked like for me with these settings at the time. Try to set a timer for when the intervalometer will complete its course so that the calibration frames will be accurate for after the shoot.
The calibration frames will be used in the stacking process to eliminate hot pixels, dust, vignetting and will also help reduce noise. Directly after the last frame is taken I like to my dark frames. Leave the camera and lens as is and put the lens cap on. Take about 30 frames with the exact same exposure, ISO and make sure the focus of the lens has remained in tact. Next up we will take flat frames. With the ISO the same as the original photos and the lens untouched put a phone screen that is completely white (flashlight app to have a bright white screen or google a white picture) up to the lens. Adjust ONLY the shutter speed to get the histogram approximately 1/3 of the way graphed with the exposure and take about 30 more frames. After the flat frames put the lens cap back on and leave all settings the same and take 30 more frames. Last but not least we will take 50 bias frames with the lens cap on and the fastest shutter speed your camera will take. Keep in mind that you will want all of these calibration frames done at the time of the shoot and at the same temperature. This will give you the best results for removing any imperfections from the sensor and lens. For this particular shoot my frames are as follows:
150 Light frames-30 second exposure, ISO 3,200, f/8
29 dark frames
34 dark flat frames
59 flat frames
64 bias frames
Since I have moved from PC to Mac I use a software called Siril to process all of these images into one image via stacking. Siril will take all of the “light” images and align them based on the data provided and stack them together as if you had taken one very long exposure image without blowing out any of the highlights from the stars or galactic core. Each image has its own collection of data for where the photons of light have been detected on the camera sensor. Where there is no or very little light detected the camera can interpret this lack of data as noise. The more data that is collected the less noise we will see in the processed image. The calibration frames help the software locate hot pixels, dust and imperfections in the lens such as vignetting and will remove these from the image. When we receive the processed image it’s time to start editing. I use photoshop or GIMP to stretch the data in the image to bring out the light from the stars and galaxy. Once the image is stretched I use a software called starnet++ to remove the stars so I can work with processing just the galaxy.
Stars removed in starnet++ for editing of the galaxies
After editing the galaxy and placing the stars back into the image we finally have a spectacular result. Most of my passion for photography comes from revealing details that go beyond what our eyes can see. To most, these images may be undervalued. I created this site to display the amount of time and effort required behind the scenes to produce these types of images and also help other photographers.